
ACCENT · SLIDELL SERVICE AREA
Slidell siding.
Bring the walls, trim and next exterior project into one clear plan.
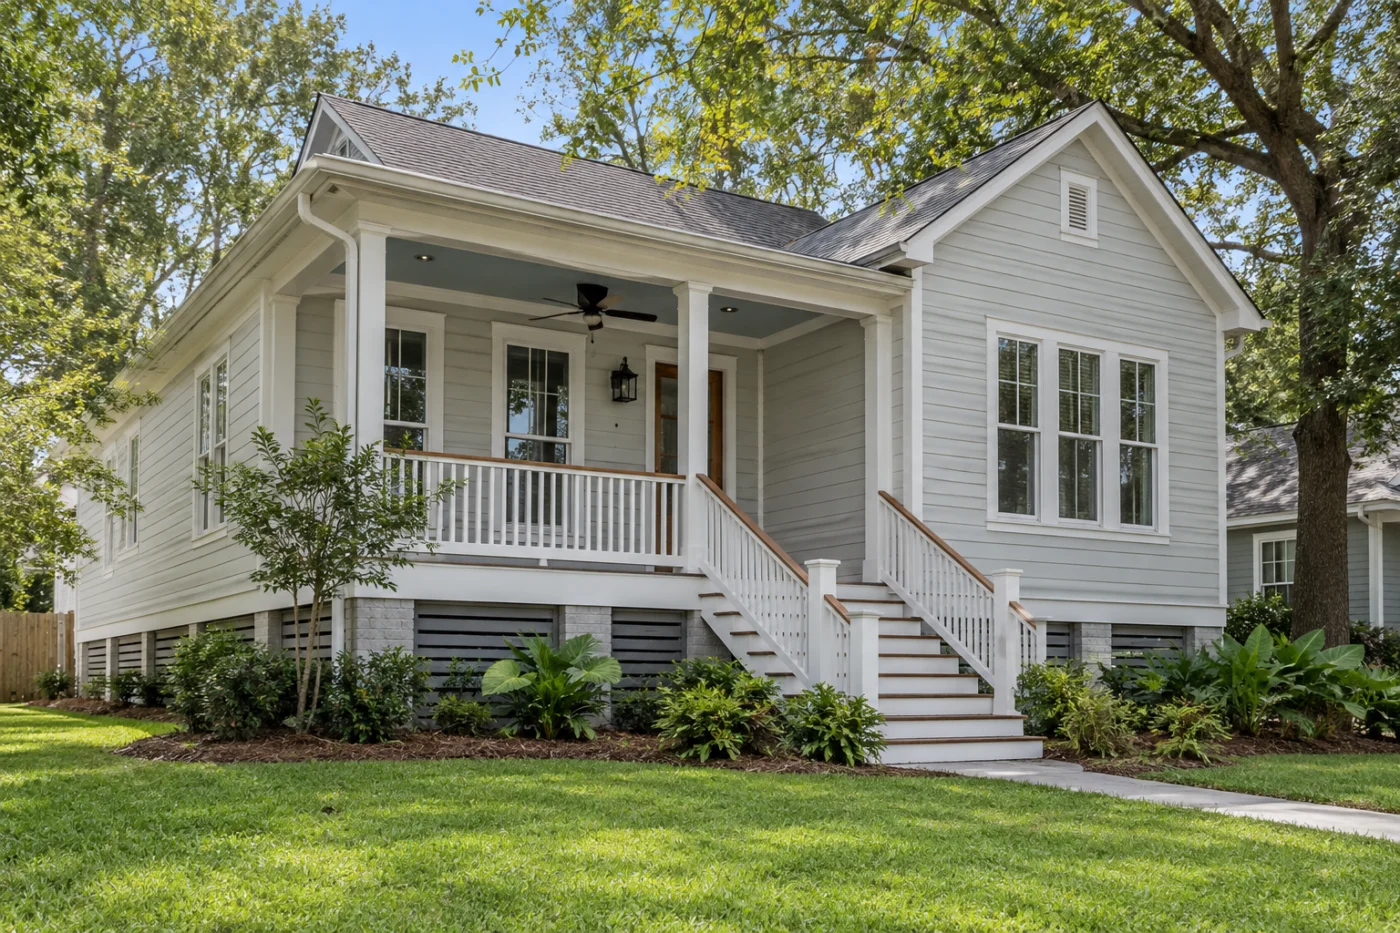
Consistent siding and trim around a porch and grouped window arrangement.
Make the refreshed exterior feel intentional.
For a Slidell siding project, start with the change you want to see when you pull into the driveway. It may be a more consistent finish across several elevations, a cleaner transition beside the entry or a wall material that suits the roof and windows you plan to retain. Accent can assess the proposed work and discuss siding and trim choices around that goal. Bring safe overall photographs and identify the areas that belong in this project. A specific brief helps the selection conversation move from a collection of attractive samples to an exterior plan you can recognize in the proposal.
1 · PROJECT DETAILS
Look for consistency across the parts that stay and change.
A house may have several wall treatments without looking disjointed when their relationships are considered. Show retained brick, siding, roof covering and window-frame finishes together rather than choosing a new wall color from a close sample alone. Ask how the proposed profile and trim relate to those fixed features. If you want a quieter appearance at the garage or a more defined entry, explain that preference. The final selection should describe actual available materials and the specific elevations where they will be used.
Photograph the sides and rear as well as the front. Different elevations can contain a porch connection, grouped windows or small returns that change the finishing conversation. If only selected walls are included now, mark them clearly and say which areas remain untouched. A phased exterior can still have a coherent direction when the retained materials and future intentions are visible from the beginning. Do not let a general whole-house appearance discussion create uncertainty about which walls are actually part of the written installation scope.
2 · PROJECT DETAILS
Use trim details to connect the elevation.

From Accent’s existing photo collection.
Corners, gables, opening surrounds and the eave are where a new wall finish becomes part of the existing house. Ask which trim work is included and how the proposed details meet retained components. If an old repair created an awkward transition, show that location and describe the result you want instead of assuming siding replacement automatically addresses it. Small close-view details near the entrance may deserve as much attention as the broad wall color because they are seen every day at the scale of the front door.
Show visible wall concerns without diagnosing them yourself. Ask which preparation can be assessed before product selection and how concealed findings discovered during removal will be documented. Explain gate access, planted areas and stored items near the affected walls so practical arrangements can be discussed. A clear proposal separates removal, preparation, selected finish and adjoining responsibilities. That makes the appearance goal something the installation can deliver within defined boundaries rather than a promise that a new surface resolves every unrelated exterior concern.
3 · PROJECT DETAILS
Arrange connected work before the new finish is complete.
If windows, gutters or a patio connection will be changed, identify those plans before siding dimensions and timing are finalized. Ask where the services meet and which provider finishes each interface. A future project remains separate unless included, but its possible effect on a newly finished opening or roof edge should be discussed. Keep the selected materials and trim details with the agreement so later phases begin with the facts of the installation already completed. This is useful even when the wider exterior plan will be spread over time.
Send the Slidell address and any association or property instructions with the first request. The city’s Building Safety department is a starting point for local information, while the correct authority and process still need confirmation for the actual address and scope. A nearby project does not establish the requirements for yours. Use the estimate form to describe the affected elevations, retained features and intended sequence, or call Accent’s Eastbank project line. The next assessment can then focus on the specific house and a siding proposal with a clear design direction.
Explore the exterior details.
Browse Accent’s existing photo collection, then tell us which materials, proportions and outdoor features interest you.

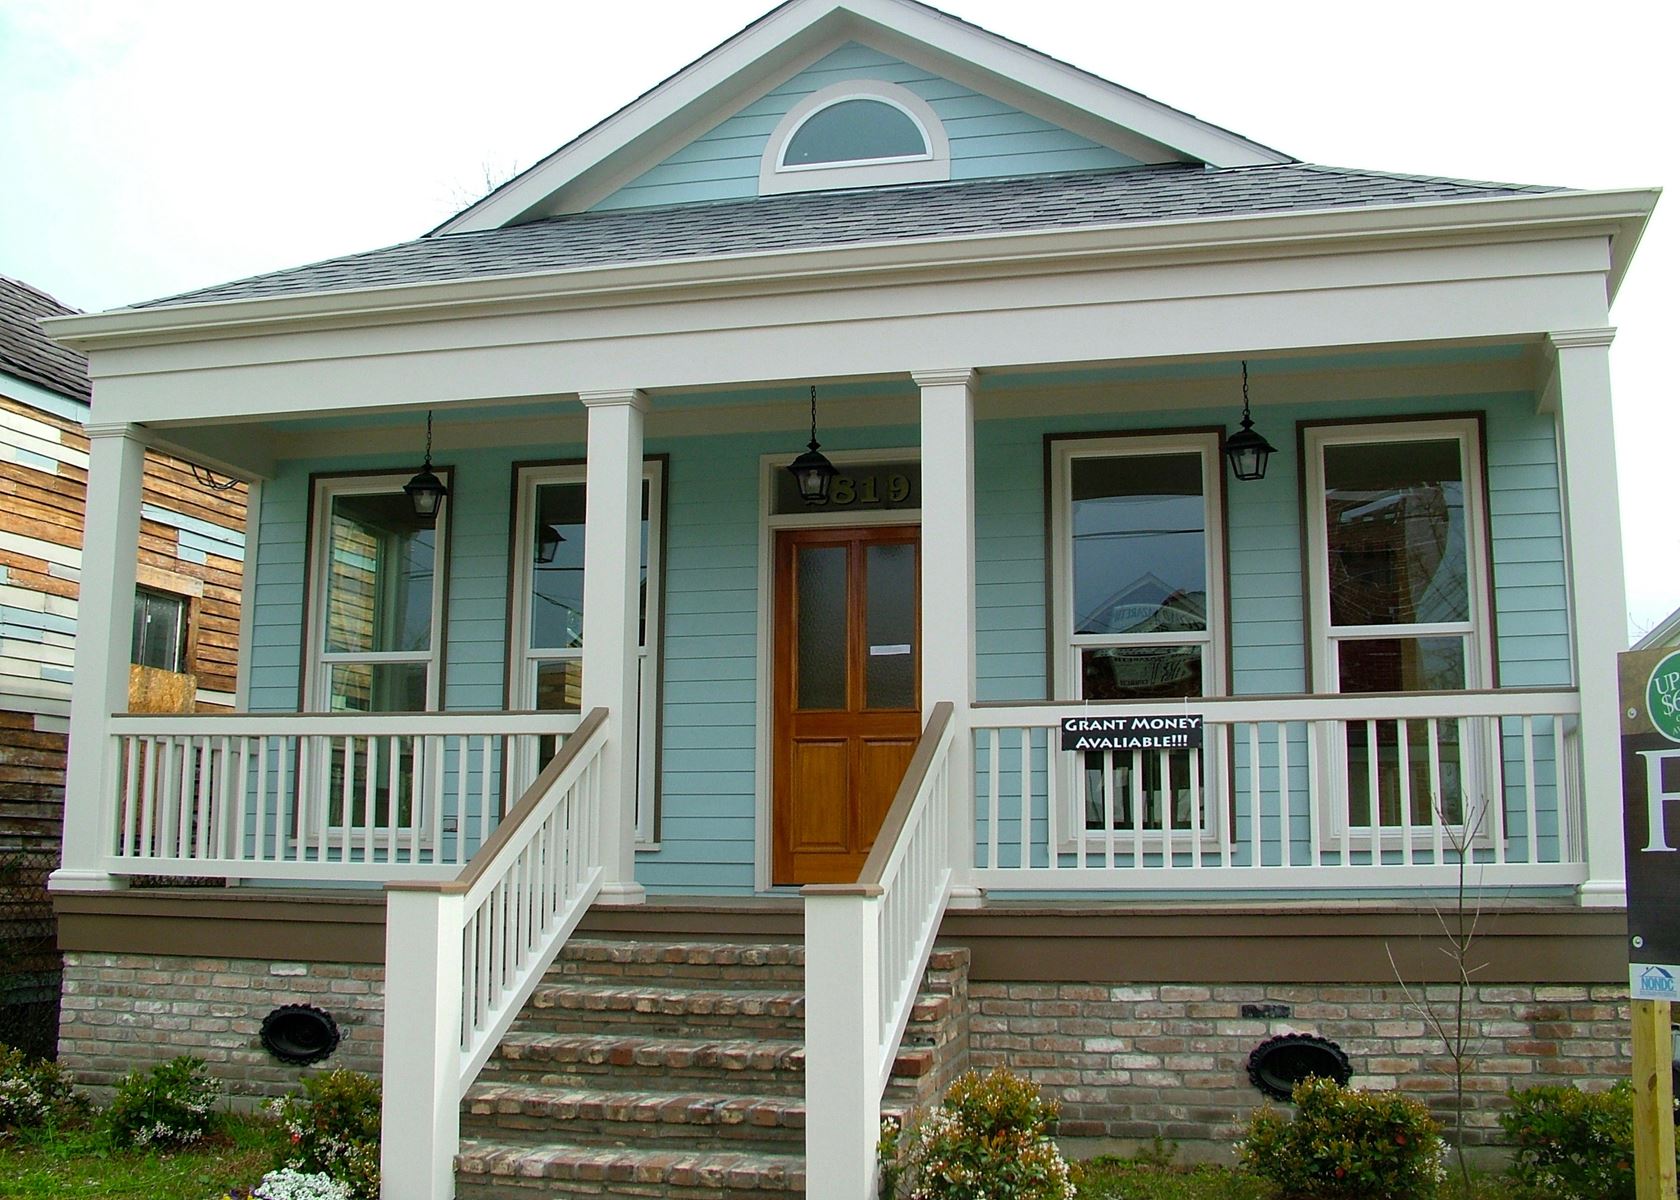

Bring the details together.
Tell Accent what you want to change, where the home is and which connected improvements you are considering. A clear request makes the next conversation useful.
4 · PROJECT DETAILS
Specify the wall system and its finishing boundaries.
A siding proposal should identify the selected material, profile, finish and accessories. Vinyl and fiber cement are broad categories, so compare the actual product information and care requirements. Ask which wall areas, corners and openings are included, and distinguish the visible finish from any separate work behind it. The installation approach needs to suit the assessed condition and the selected system; a photograph or a familiar material name cannot establish every wall detail.
Removal can reveal a condition that was not visible before the old finish came off. Agree how the team will document such findings and obtain approval for additional work. Keep the work boundary clear at brick, trim, windows and roof edges. That makes it possible to compare proposals by their responsibilities and finished result rather than assuming a similar total or siding description means the same preparation and installation.
5 · PROJECT DETAILS
Keep selection and completion records together.
From Accent’s existing photo collection.
Review samples beside the materials that will remain on the house. Record the actual selected product, profile and color, including any optional trim details. A screen image is useful for discussion but should not be treated as an exact representation of a finish beside the existing brick or roof. If a product changes, ask how the substitution will be reviewed before it is ordered.
At completion, retain the agreement, product care information and applicable warranty documents. Review the included elevations and agreed transitions so the boundary of the completed work remains clear. These records help future maintenance and any later phase begin with facts about what was installed. They are particularly useful when only part of the exterior changes and retained siding, windows or roofline components may become a separate project later.
GOOD QUESTIONS. CLEAR ANSWERS.
Before you decide.
Explore the details below, then ask about the conditions and choices specific to your home.
Explore the connected work.
Make the next step a clear one.
Share your property location and priorities. Call Eastbank 504-888-4733 or Westbank 504-341-8178, or send your project request. Office visits are by appointment.
YOUR PROJECT · YOUR NEXT STEP
Ready for new siding?
Share your project and city or ZIP. Accent can discuss the existing space, your priorities and the details needed for an estimate.
- Share your project
A short request. Phone or email. No account needed.
- Review scope and estimate
Discuss the assessed work, materials, preparation and exclusions.
- Approve and plan the work
Confirm the agreed scope and installation arrangements with Accent.
Your request starts a conversation. You approve the work before installation.
